Lampworking is a fascinating and rewarding craft that involves shaping and sculpting glass using a torch. If you’re new to lampworking and want to work with borosilicate glass, this guide will help you get started on the right foot.

What is Borosilicate Glass?
Borosilicate glass, commonly referred to as “boro,” is a durable type of glass known for its thermal resistance and versatility. It’s a favorite among glass artists because it’s less prone to cracking due to thermal shock compared to soda-lime glass. Borosilicate glass is ideal for creating everything from functional items like glass pendants and marbles to intricate sculptures.
Essential Tools and Equipment
To start lampworking with borosilicate glass, you’ll need the following tools and equipment:
1. Torch
A torch is your primary tool for heating and shaping glass. For borosilicate glass, you’ll need a torch that can achieve high temperatures, such as a dual-fuel torch (using propane and oxygen).
2. Safety Equipment
- Didymium Glasses: Protect your eyes from the bright light emitted by the torch and harmful UV/IR radiation.
- Ventilation System: Ensure proper ventilation in your workspace to remove fumes and ensure a safe working environment.
- Heat-Resistant Gloves and Clothing: Protect your hands and body from burns and hot glass shards.
3. Glass Rods and Tubes
Start with a selection of borosilicate glass rods and tubes. Choose a variety of sizes and colors to experiment with different techniques.
4. Hand Tools
Basic tools include:
- Tweezers
- Marvering pad
- Graphite paddles
- Tungsten pick
5. Kiln
A kiln is essential for annealing your glass creations to remove internal stress and increase durability.

Setting Up Your Workspace
1. Work Area
Designate a sturdy, heat-resistant surface as your workbench. Use a Hardie Backer Board, ceramic tile or even metal, although metal will hold heat and could be less desirable in warmer temps.
2. Lighting
Good lighting is crucial for accurately seeing the glass and flame. Consider installing task lighting above your workspace.
3. Storage
Organize your glass rods, tools, and supplies for easy access. Use labeled containers or racks.
Getting Started with Techniques
1. Lighting the Torch
Start by lighting the propane flame, then gradually add oxygen to achieve a neutral flame (blue with a faint yellow inner cone).
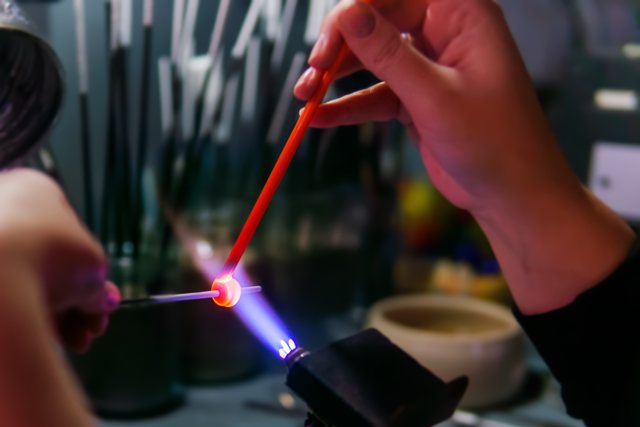
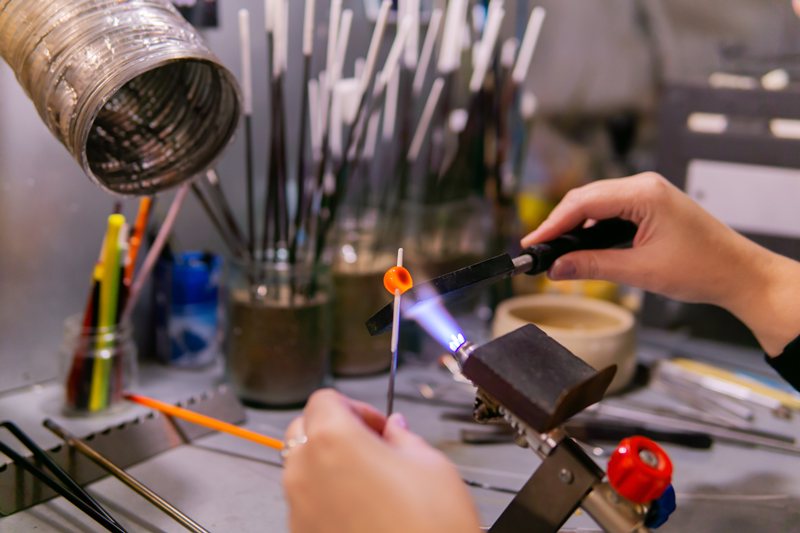
2. Heating the Glass
- Introduce the glass rod or tube to the edge of the flame to preheat it gradually and avoid cracking.
- Once the glass glows evenly, you can begin shaping it.
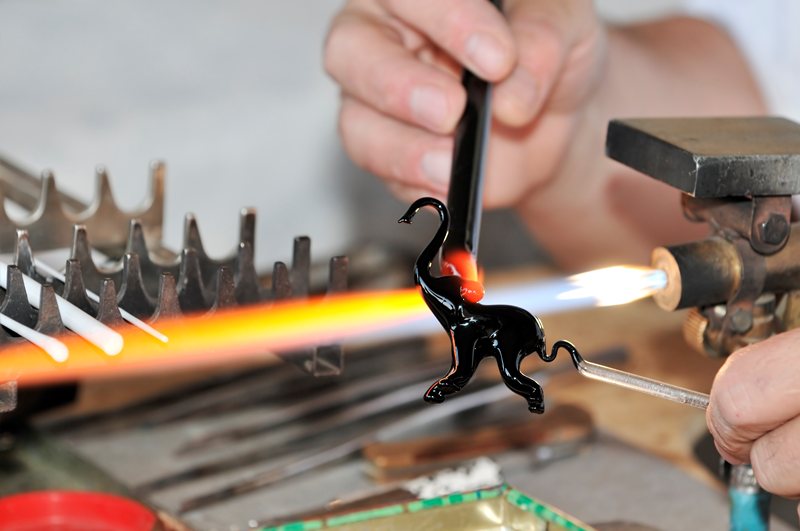
3. Basic Shapes
Practice creating simple shapes like:
- Beads: Rotate the glass evenly to form round beads.
- Marbles: Use a graphite paddle to shape spheres.
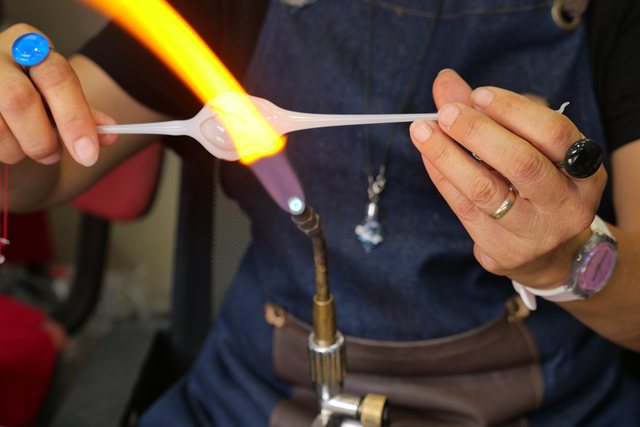
- Pendants: Pull and twist the glass for unique designs.
4. Color Techniques
Experiment with:
- Frits: Small pieces of crushed glass for texture and color.
- Encasing: Layering clear glass over colored glass for depth.
- Stringers: Thin, pulled rods of glass for fine details.
Troubleshooting Common Issues
- Cracking: Ensure even heating and proper annealing in a kiln.
- Bubbles: Avoid trapping air by heating glass slowly and evenly.
- Uneven Shapes: Practice rotating the glass consistently.
Expanding Your Skills
1. Take a Class or Workshop
Learning from experienced lampworkers can accelerate your progress and teach you advanced techniques.
2. Online Resources
Explore tutorials and videos to gain inspiration and tips.
3. Join a Community
Connect with other lampworkers through social media groups, forums, or local meetups.
Conclusion Starting your lampworking journey with borosilicate glass is an exciting adventure. With the right tools, techniques, and a commitment to safety, you’ll soon be creating beautiful and functional glass art. Embrace the process, practice regularly, and don’t be afraid to experiment. Happy lampworking!
